Python+Appium实现自动化测试的使用步骤
这篇文章主要介绍了Python+Appium实现自动化测试的使用步骤,文中通过示例代码介绍的非常详细,对大家的学习或者工作具有一定的参考学习价值,需要的朋友们下面随着小编来一起学习学习吧
一、环境准备
1.脚本语言:Python3.x IDE:安装Pycharm
2.安装Java JDK 、Android SDK
3.adb环境,path添加E:\Software\Android_SDK\platform-tools
4.安装Appium for windows,官网地址http://appium.io/
点击下载按钮会到GitHub的下载页面,选择对应平台下载

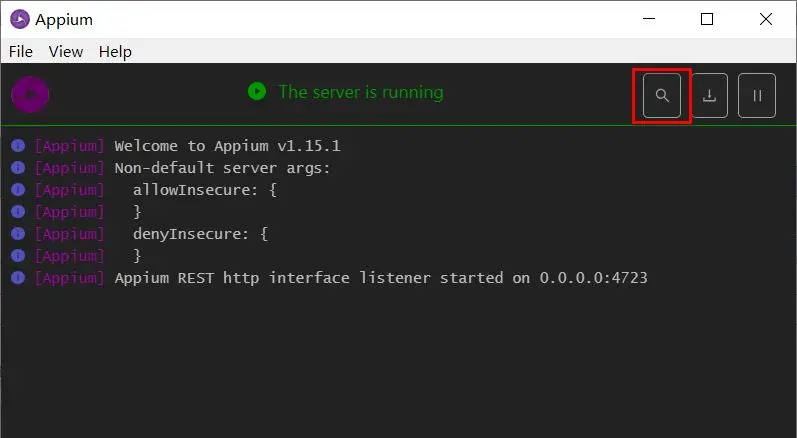
安装完成后,启动Appium,host和port默认的即可,然后设置Android SDk和Java JDK


然后点下边那个保存并重启的按钮,然后点第一个Start Server按钮,将会看到

二、真机测试
1.连接手机
打开开发者模式,USB线连接手机和电脑,并且在开发者选项当中,开启USB调试

测试是否连接成功,可执行命令adb devices

出现上图就证明手机和电脑连接成功。。。
2.点击Start Inspector Session,
按如下配置Desired Capabilities

platformName:声明是ios还是Android系统
platformVersion: Android内核版本号,可通过命令adb shell getprop ro.build.version.release查看

deviceName:连接的设备名称,通过命令adb devices -l中model查看

appPackage:apk的包名
appActivity:apk的launcherActivity,通过命令adb shell dumpsys activity | findstr “mResume”查看(需先打开手机应用)

注意:Android 8.1之前应使用adb shell dumpsys activity | findstr “mFocus”
3.运行Start Session,选择元素

右侧 Selected Element 区域有三个按钮
Tap:执行选中元素的点击事件Send Keys:为文本框等对象传值如果是文本输入元素,就清除文本
4.录制脚本

录制生成的python代码如下:
# This sample code uses the Appium python client
# pip install Appium-Python-Client
# Then you can paste this into a file and simply run with Python

from appium import webdriver

caps = {}
caps["platformName"] = "Android"
caps["platformVersion"] = "9.0.0"
caps["deviceName"] = "Mi_Note_3"
caps["appPackage"] = "com.antfortune.wealth"
caps["appActivity"] = "com.alipay.mobile.quinox.LauncherActivity"
caps["resetKeyboard"] = True
caps["unicodeKeyboard"] = True

driver = webdriver.Remote("http://localhost:4723/wd/hub", caps)

el1 = driver.find_element_by_id("com.antfortune.wealth.login:id/login_main_button")
el1.click()
el2 = driver.find_element_by_id("com.alipay.mobile.accountauthbiz:id/auth_login_btn")
el2.click()

driver.quit()
5.在pycharm中建立项目将代码粘入,在运行之前,还需通过pip命令安装pip install Appium-Python-Client依赖包

最后,记一个我在这些过程中遇到的问题(现已解决)
在Appium-desktop中运行Start Session时,出现

解决方法:在开发者模式下,打开usb调试功能和use模拟点击,两个都要打开,此时再重新运行,即可解决
到此这篇关于Python+Appium实现自动化测试的使用步骤的文章就介绍到这了
总结
最后如果你想学习软件测试和需要软件测试资料,欢迎加入笔者的交流群:731789136,里面可以免费领取软件测试+自动化测试资料+软件测试面试宝典+简历模版+实战项目+面试刷题工具和大佬答疑解惑,我们一起交流一起学习!
热门相关:凤逆天下:腹黑魔君妖娆后 唐枭 酒店供应商 贴身侍卫 我有一张均富卡